

In this manual, we present how to create a backup of your VPS server and restore the system from a backup.
Note: The backup procedure can be performed online and does not require stopping your VPS
Note: The restore procedure must be performed offline, your VPS will be shut off prior to the restore
Log In
Log in to the Dashboard with your username and password. Optionally, you can sign in using Google or Facebook account.
Creating Manual and Scheduled Backups
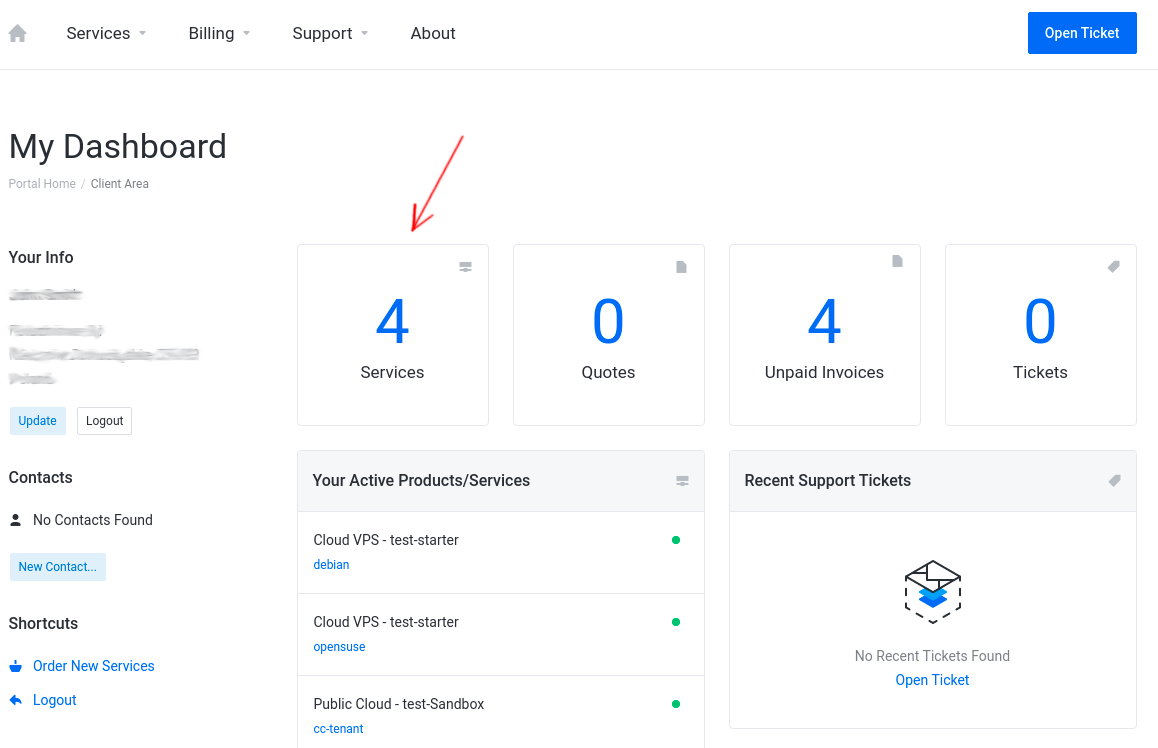
1. In the Dashboard, click on the Services tile
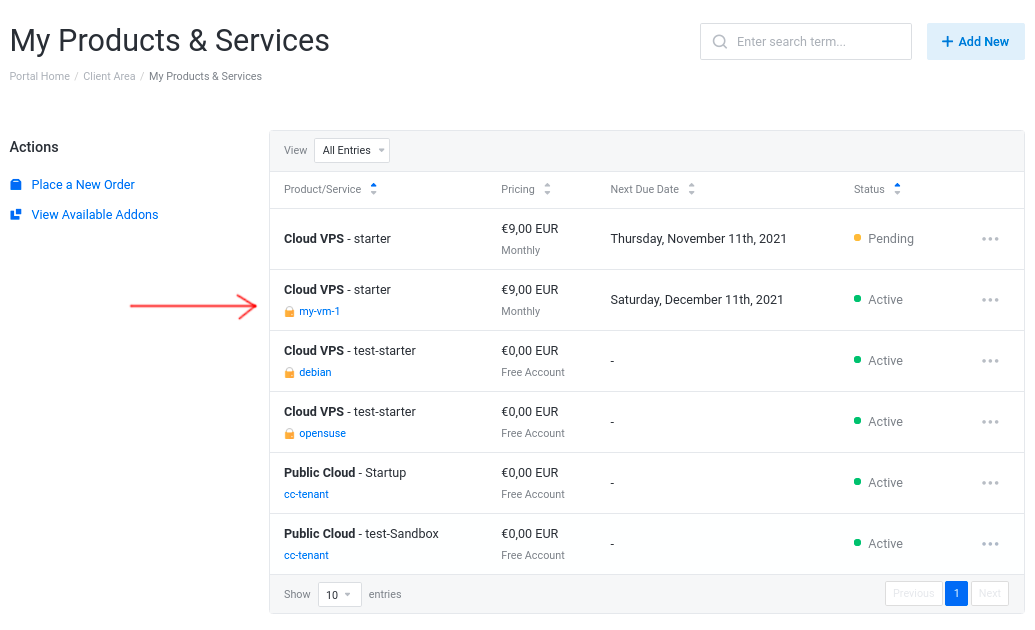
2. Choose your VPS from the services list:
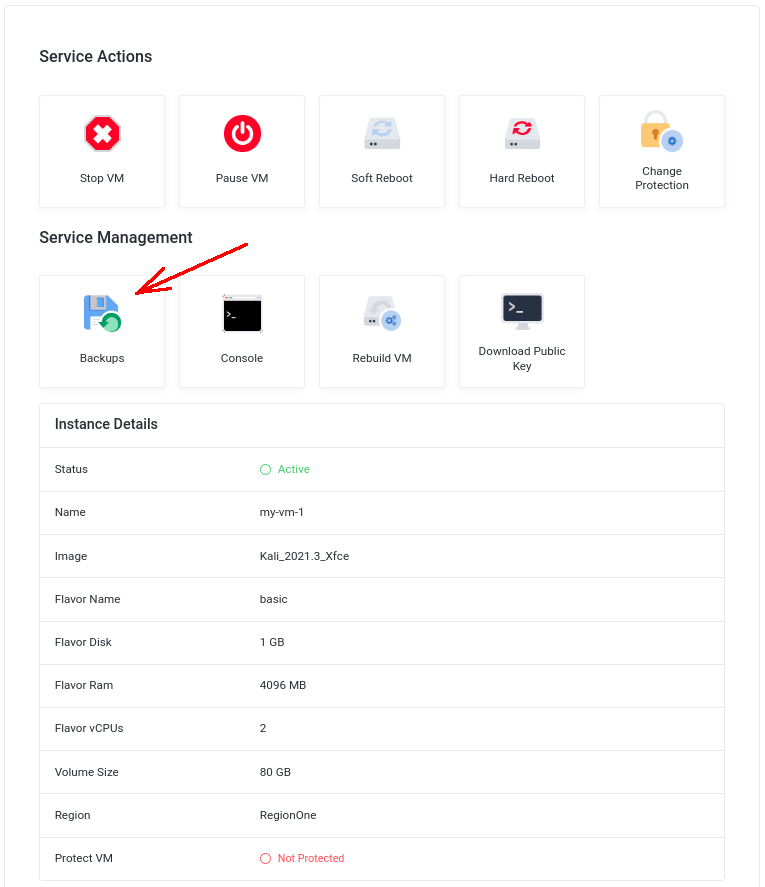
3. In the VPS management panel click on the Backups tile
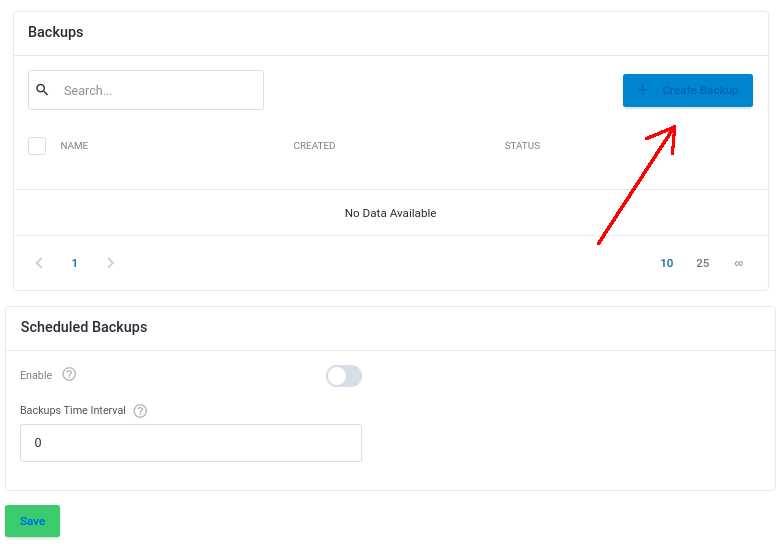
4. In the Backup window, click on the Create Backup button
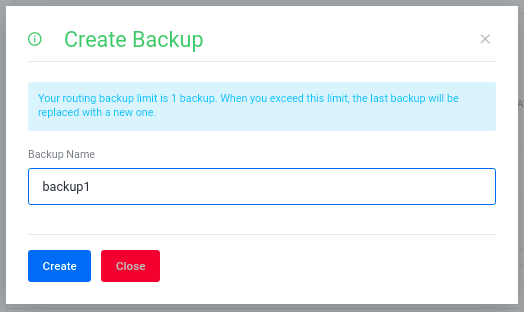
A new window will pop up, type here a name for your backup and click on the Create button.
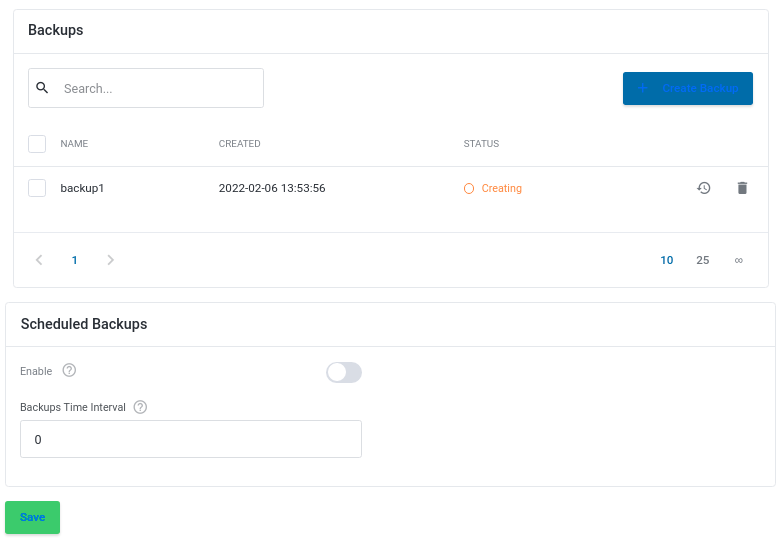
Creating the backup takes a while, depending on the VPS disk usage and current I/O utilization. The backup will remain in the Creating status until done:
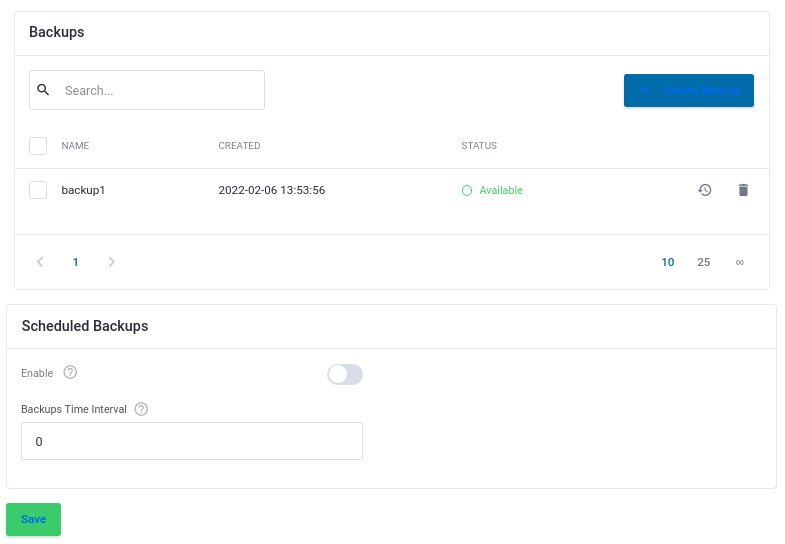
Once the backup procedure is finished, your backup will change its status into Available:
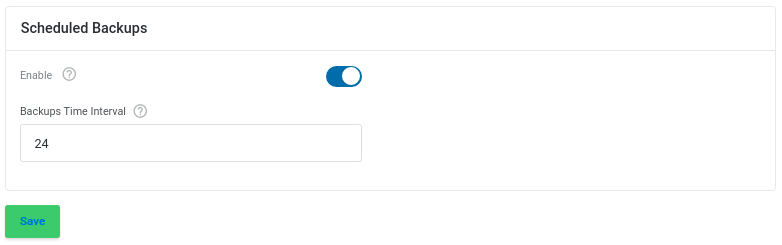
5. Enable Scheduled Backups (optional)
Our VPS Management Panel enables you to create Scheduled Backups in specified time intervals.
Note: When the limit of your backups (defined upon purchase order) is reached, the last backup will be replaced with the new one, whether it has been created manually or automatically.
Note: Minimum time interval between backups must be equal to or greater than 1 hour.
Enable Scheduled Backups using the slider and type in the time interval in hours, then click on the Save button:
Restoring your VPS from Backups
Note: Restoring your VPS will permanently delete the current data and will bring the system back to the state from backup
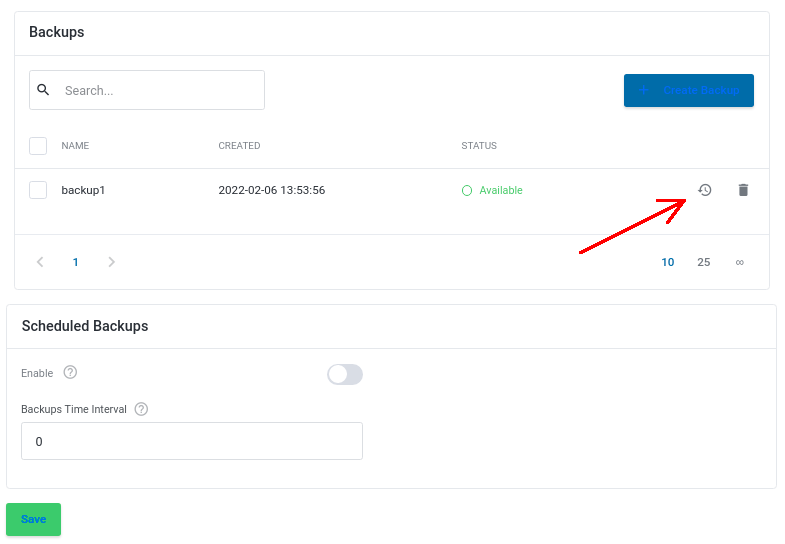
1. In the VPS management panel click on the Backups tile
2. In the Backup window, locate the backup you want to restore your VPS from and click on the clock icon:
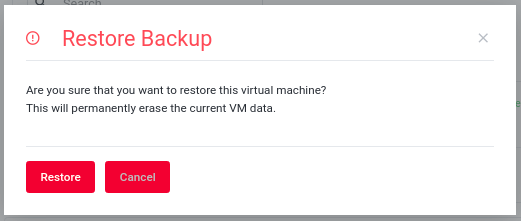
A new window will pop up, click on the Restore button to restore from backup:
Restoring your VPS may take a while (up to 25 minutes) and will cross the different stages. Go back to the VPS Management Panel and monitor the Scheduled Tasks section for the current restore process:
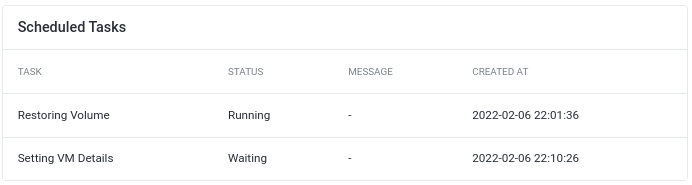
Once the procedure is complete, the task will disappear from the Scheduled Tasks section. You might need to refresh your browser to make sure the procedure is complete. After the restore, your VPS will be automatically powered on.
Deleting VPS Backups
If you feel that a particular VPS backup is not needed anymore, you can delete it manually from the list of your backups to free space for new backups.
Note: Deleting a backup does not affect the current status and operation of your VPS
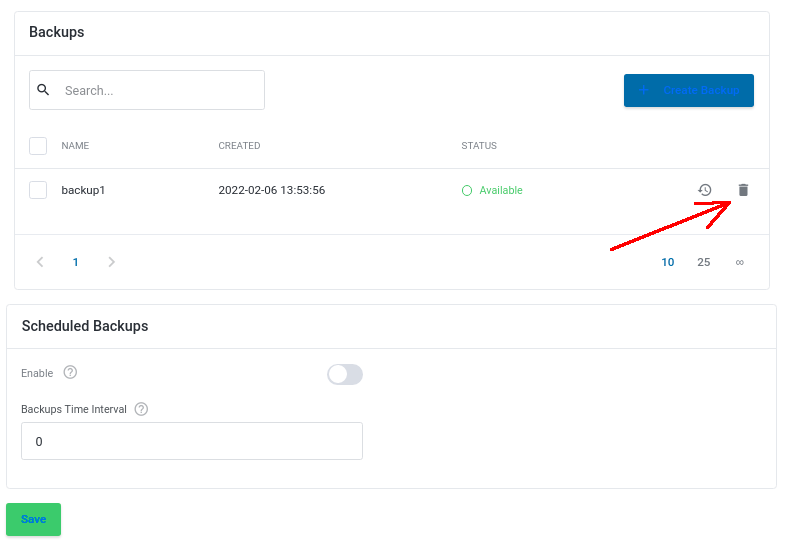
1. In the VPS management panel click on the Backups tile
2. In the Backup window, locate the backup you want to remove and click on the trash bin icon:
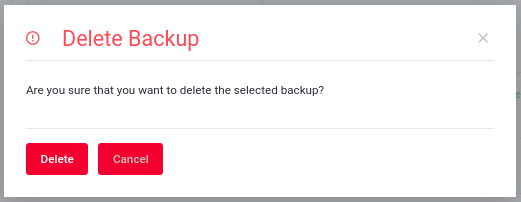
A new window will pop up, click on the Delete button to delete the backup permanently:
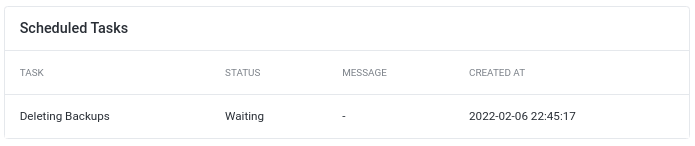
Deleting a backup may take up to 5 minutes. Go back to the VPS Management Panel and monitor the Scheduled Tasks section for the current deleting process:
Once the procedure is complete, the task will disappear from the Scheduled Tasks section.
