

This tutorial will guide you through the process of creating your Public Cloud Project (Tenant) on CinderCloud hosting.
Log In
Log in to the Dashboard with your username and password. Optionally, you can sign in using Google or Facebook account.
Create Project (Tenant)
1. In the Dashboard, click on the Services tile
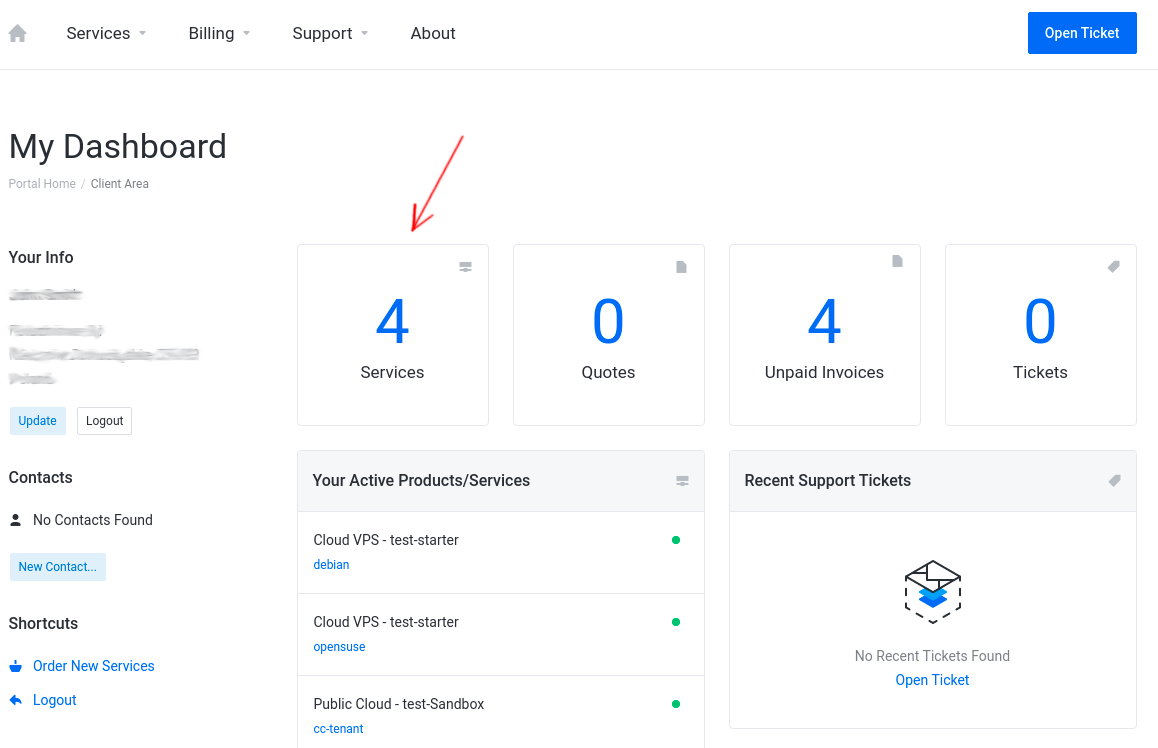
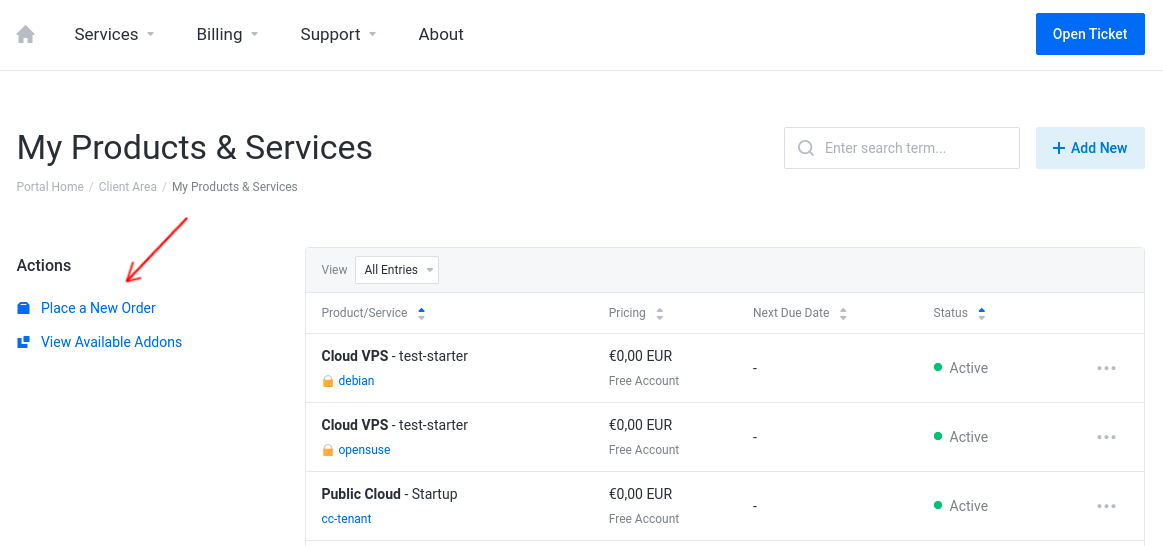
2. Next, click on the Place a New Order button
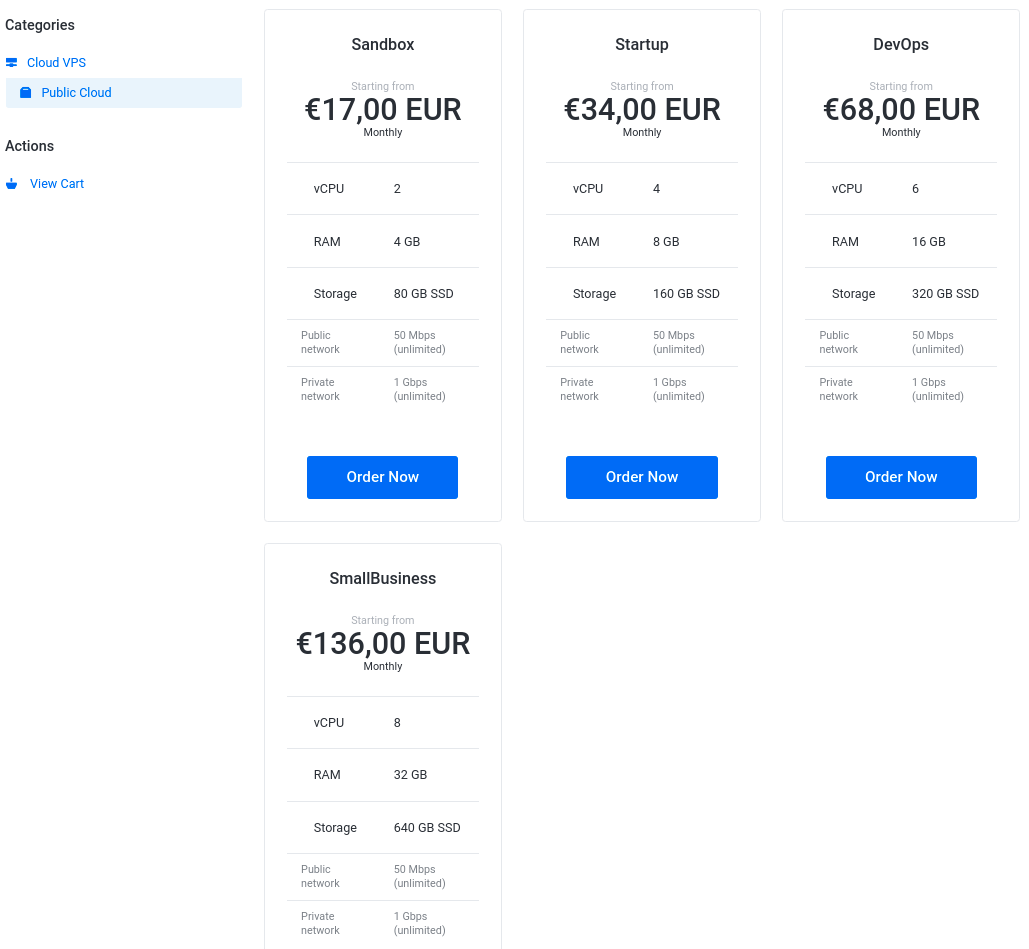
3. In the Public Cloud menu select a Public Cloud Project plan according to your needs and click on the Order Now button
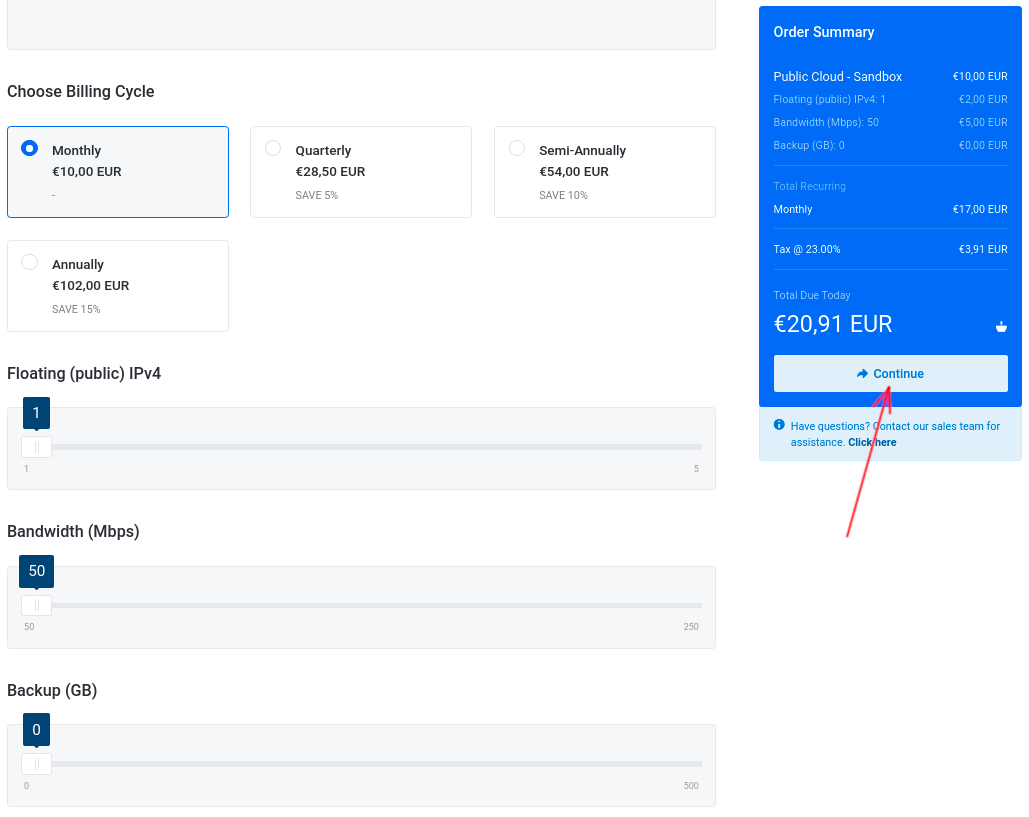
4. Choose a Billing Cycle from the available options: Monthly, Quarterly, Semi-Annually, Annually
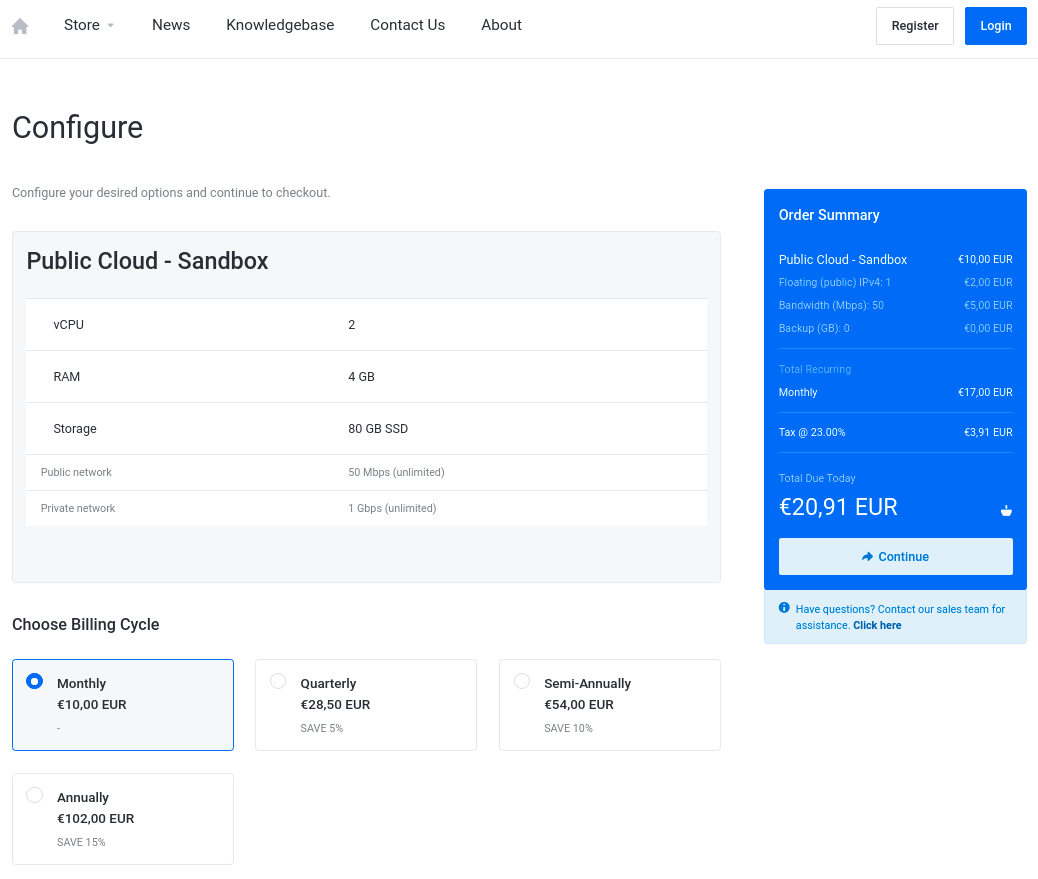
5. Select a number of Floating (public) IPv4 using the slider, minimum 1 IPv4 is required, maximum available: 5 IPv4
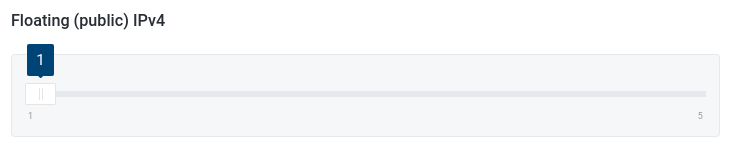
Floating IP will let you access your infrastructure inside the cloud from the internet. It is usually assigned to the Instance (Virtual Machine) which acts as a jump host from the external (public) network to your internal (private) network(s).
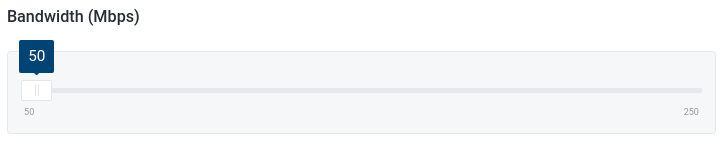
6. Select public (external) network Bandwidth using slider, minimum (required) bandwidth is 50 Mbps, maximum available is 250 Mbps
7. Select total volumes Backup capacity available in your new project (optional)

8. Now click on the Continue button on the right sidebar to proceed to the order review.
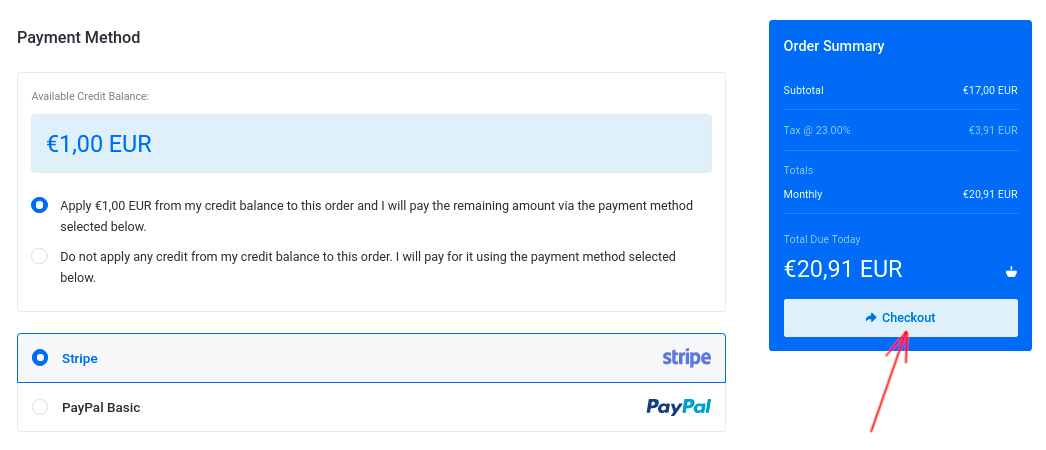
9. Review your order, choose the Payment Method (currently available: Stripe, PayPal) and click on the Checkout button to proceed to the checkout
Note: processing your payment may take a while
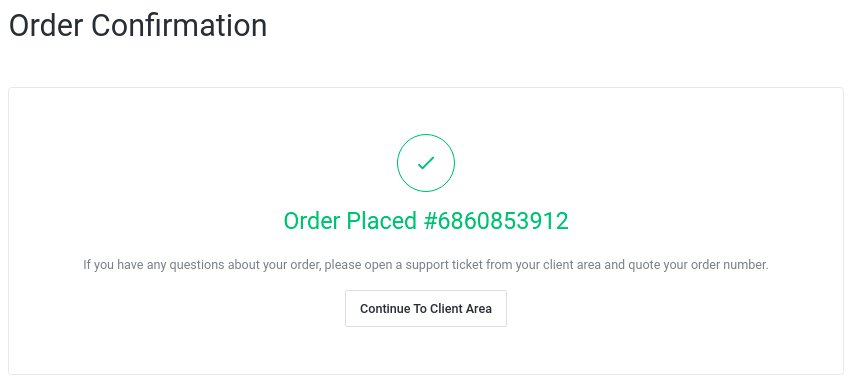
Once, the payment is completed successfully, you will receive the following notification:
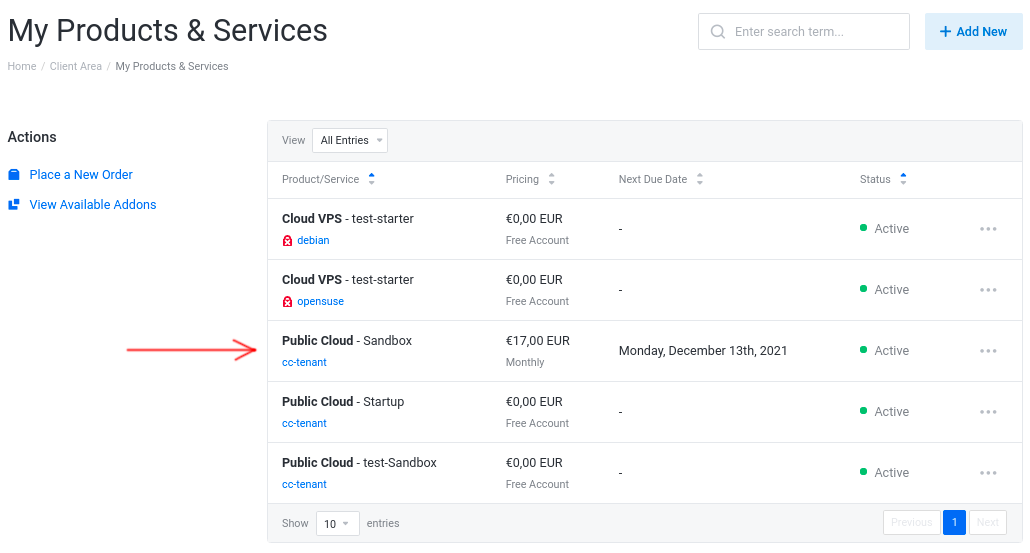
10. Now go back to your Client Area
Click on the Services tile, and you should see your newly ordered Public Cloud Project:
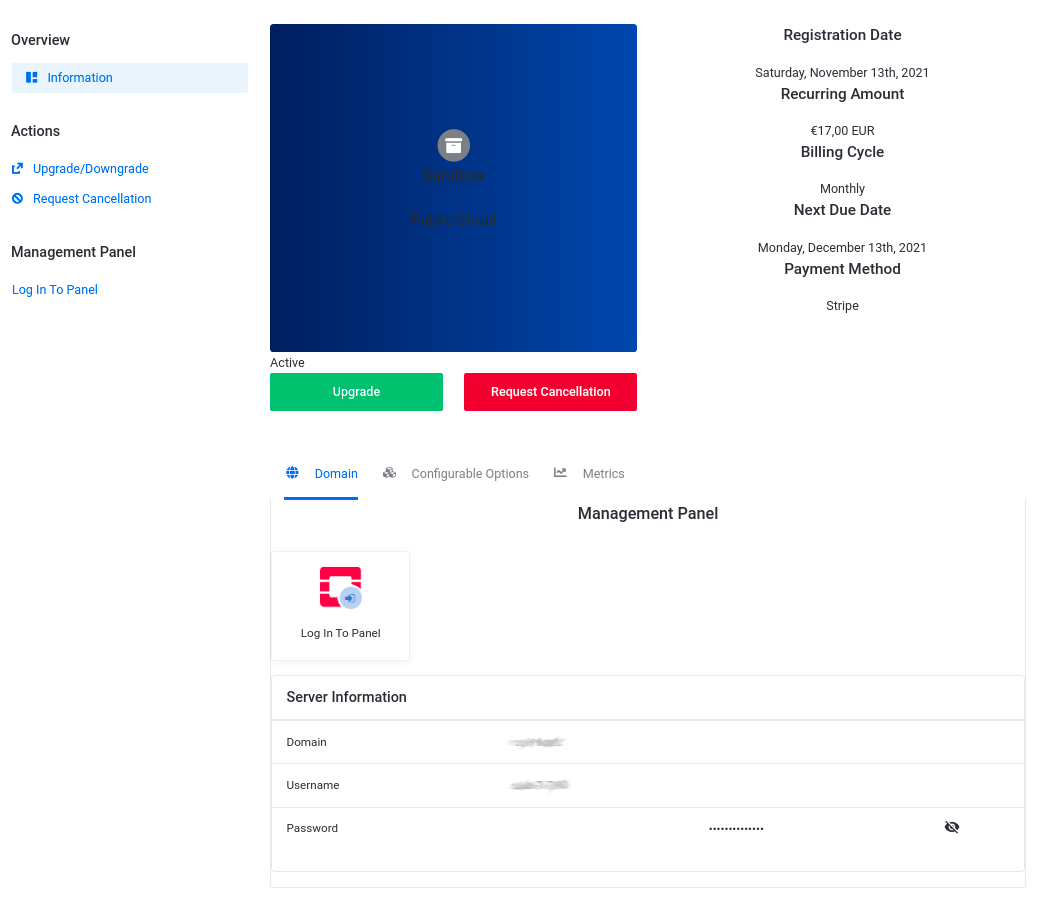
Click on your new Public Cloud project, to see its status. Creating a new Public Cloud may take up to a few minutes, once it is done, you should see details regarding your new tenant:
11. Check your mailbox, you should receive an email regarding your new Public Cloud Project details.
What's Next?
Once your Public Cloud Project has been created, your next step should be:
Configuring your Public Cloud Project
