

This manual will guide you through the process of creating and customizing your Virtual Private Server (VPS) on CinderCloud hosting.
Log In
Log in to the Dashboard with your username and password. Optionally, you can sign in using Google or Facebook account.
Create VPS
1. In the Dashboard, click on the Services tile
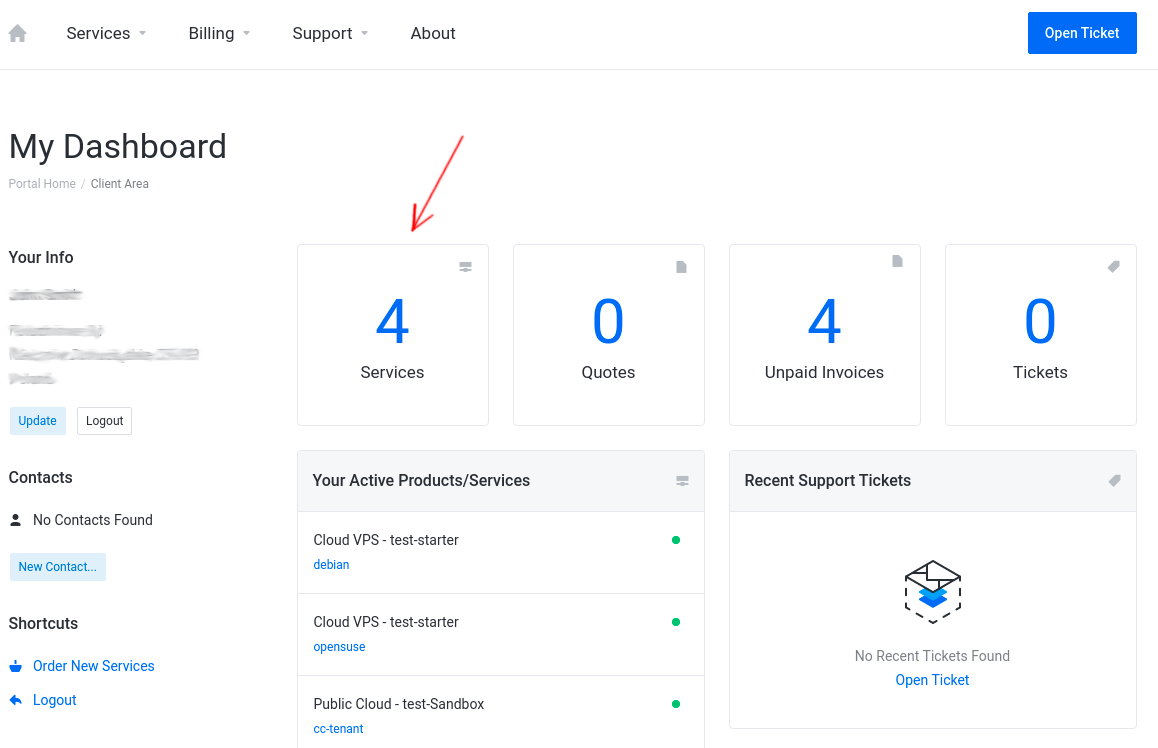
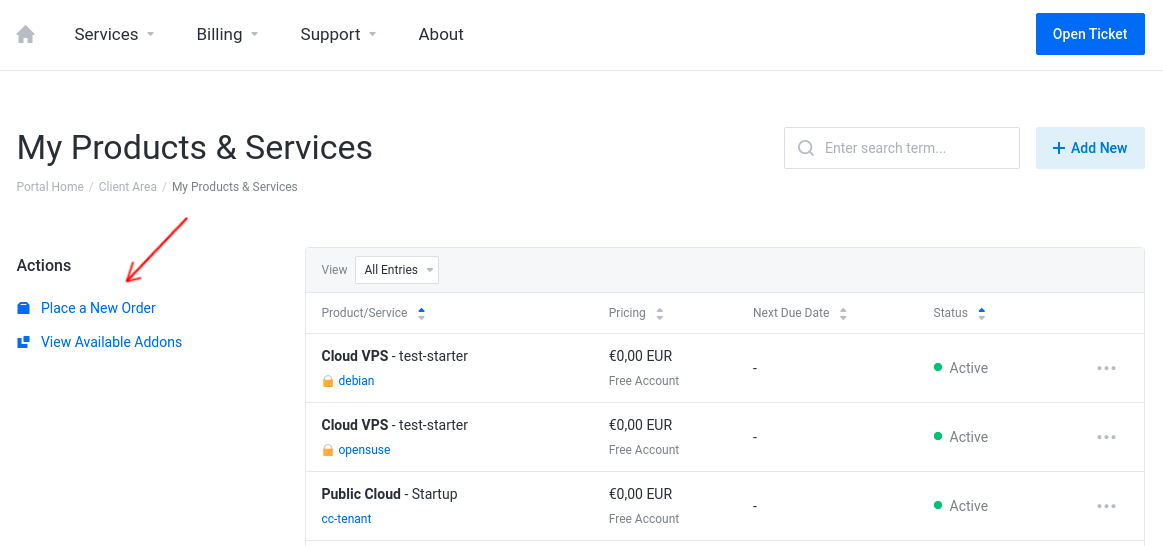
2. Next, click on the Place a New Order button
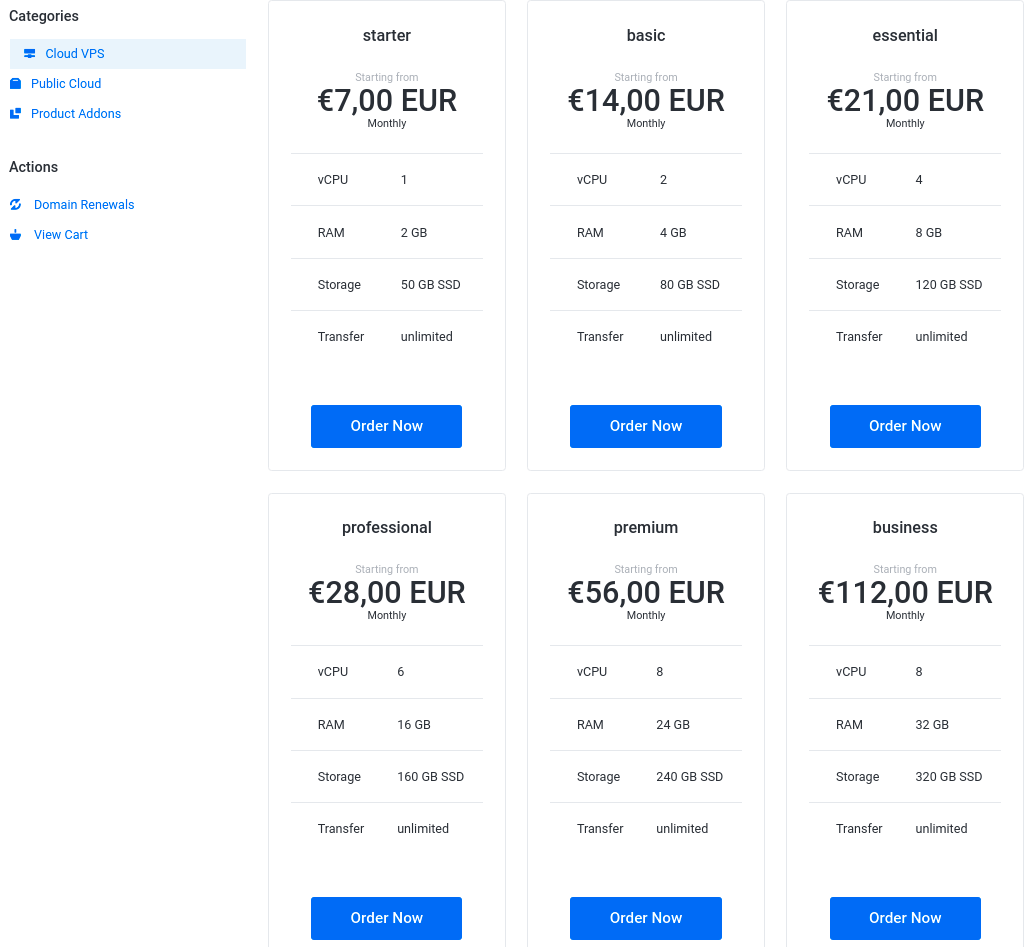
3. In the Cloud VPS menu select a VPS plan that best suits your needs and click on the Order Now button
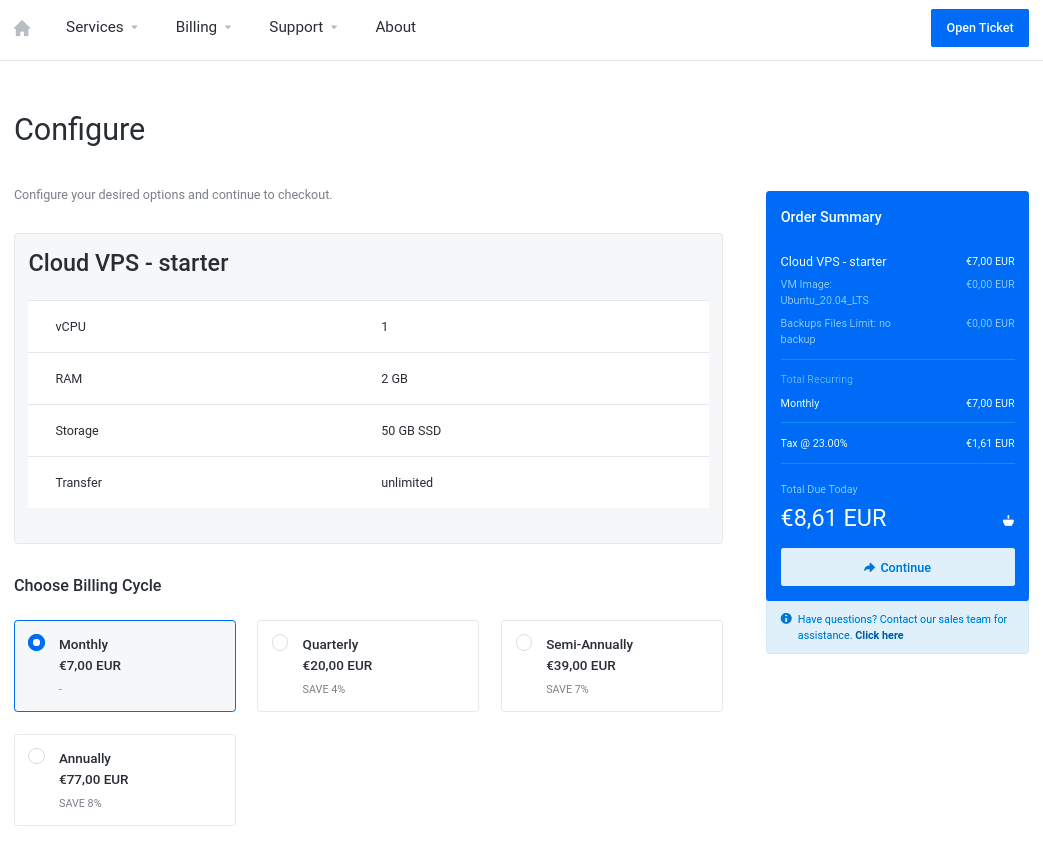
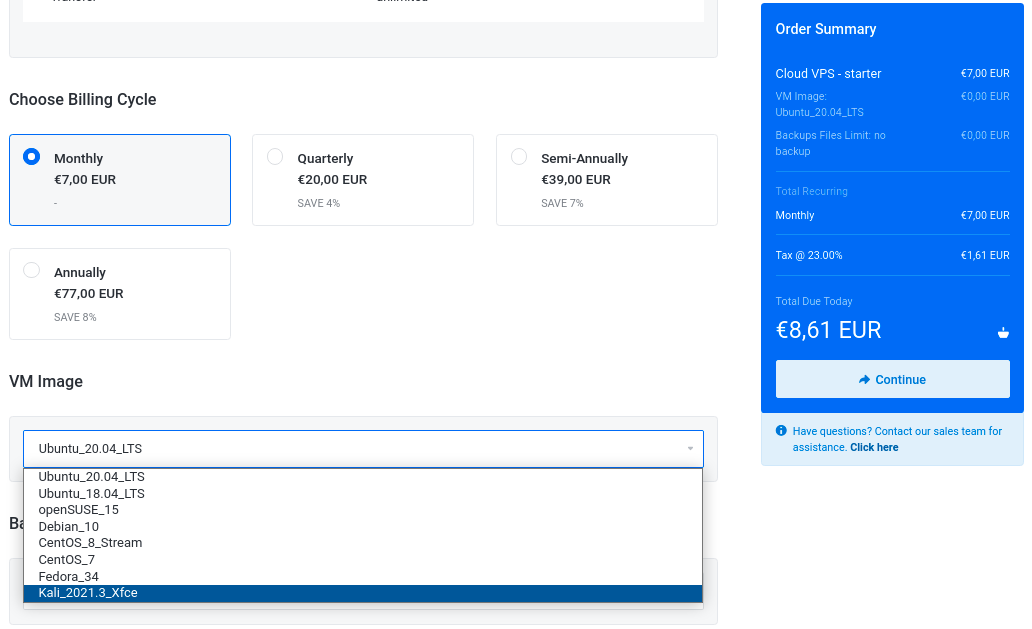
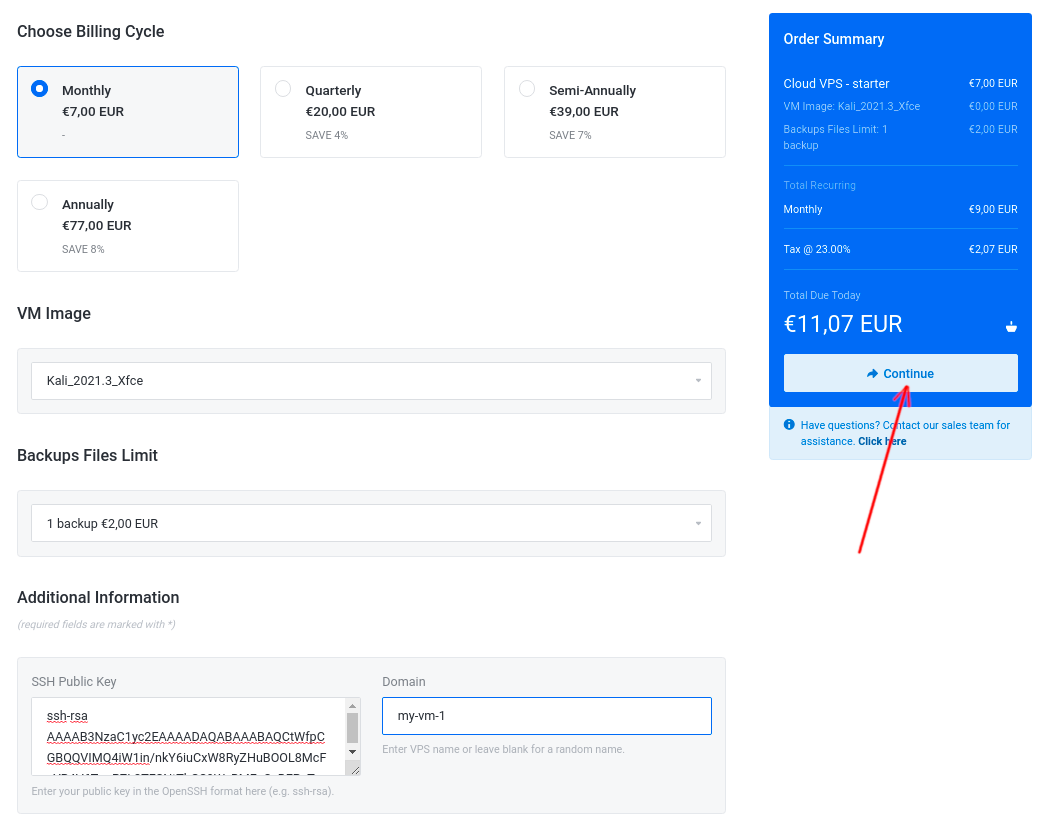
4. Choose a Billing Cycle from the available options: Monthly, Quarterly, Semi-Annually, Annually
5. Select a VPS image according to your preferences
6. Select Backup Files Limit (optional)
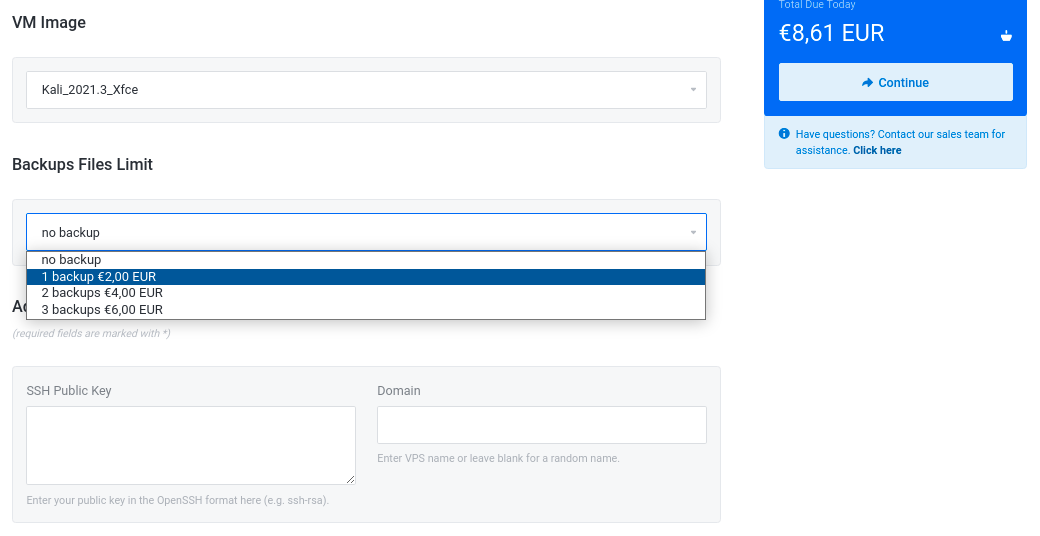
Selecting at least one backup enables you to create backups manually or configure scheduled backups. If you reach the backup limit, each new backup will overwrite the existing ones.
7. Enter a public SSH key (usually id_rsa.pub file) for passwordless SSH connectivity to your server (optional)
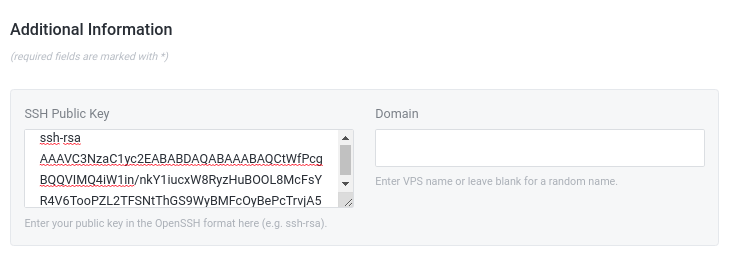
This step is optional, if you do not provide an SSH public key, the system will generate a random SSH key pair and you will still be able to download the private key for the mentioned key pair
Besides the SSH key, each VPS is assigned an initial password upon creation. Password authentication is enabled by default to give you an additional login option in case you don't feel comfortable using SSH keys. Password authentication can be later disabled if you don't need it.
8. Enter a VPS name, under which the VPS will be visible on your VPS list in the Dashboard (optional)
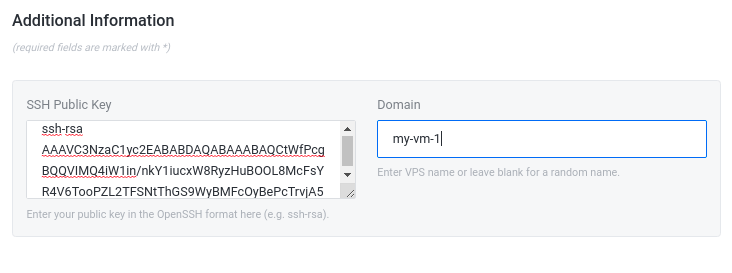
This step is optional, if you do not type anything here, a random name will be picked.
9. Now click on the Continue button on the right sidebar to proceed to the order review.
10. Review your order, choose the Payment Method (currently available: Stripe, PayPal) and click on the Checkout button to proceed to the checkout.
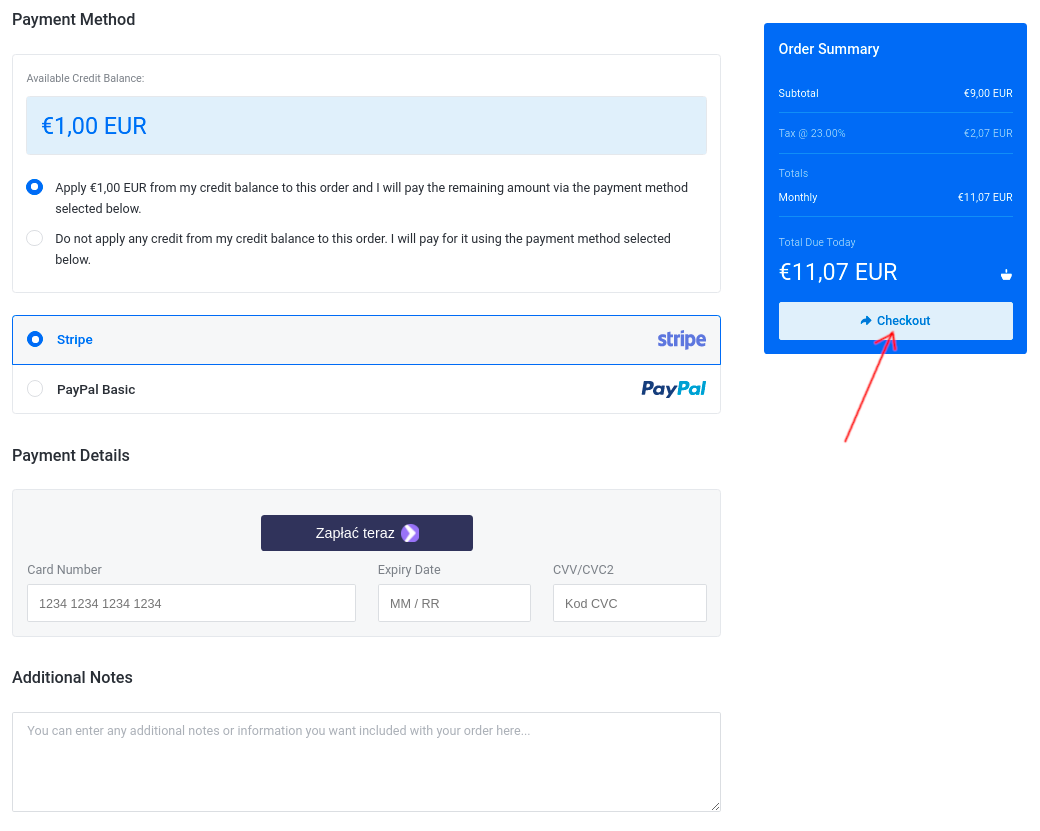
Note: processing your payment may take a while
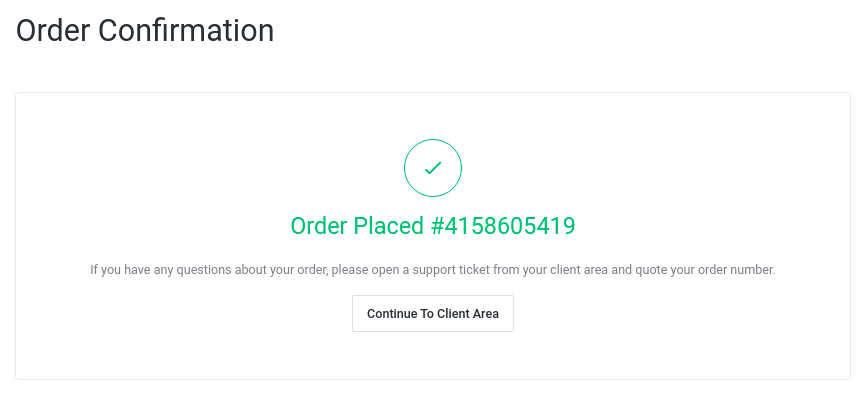
Once, the payment is completed successfully, you will receive the following notification:
11. Now go back to your Client Area
Click on the Services tile, and you should see your newly ordered VPS:
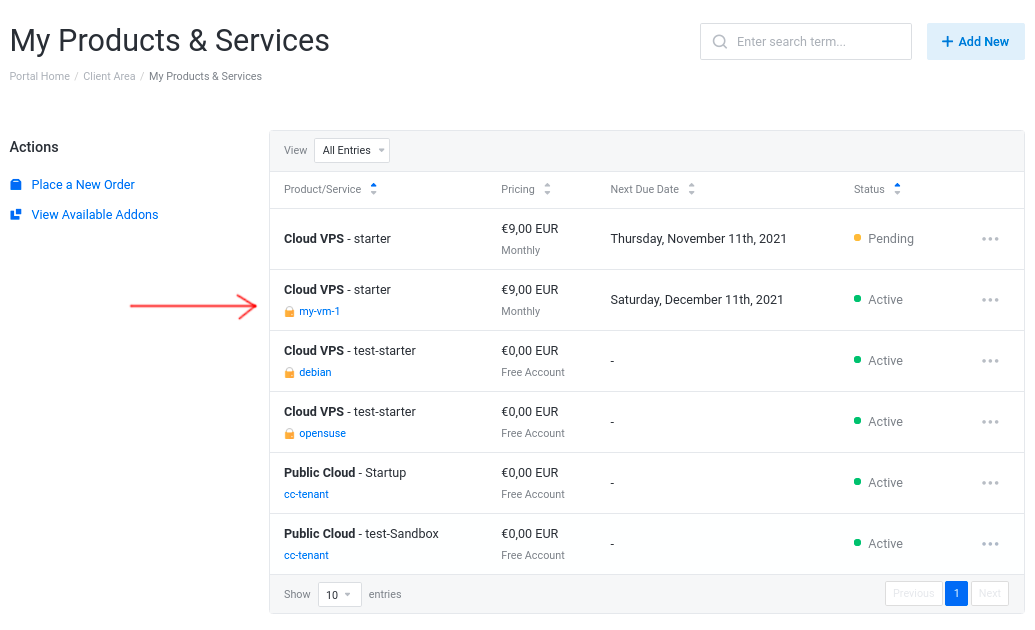
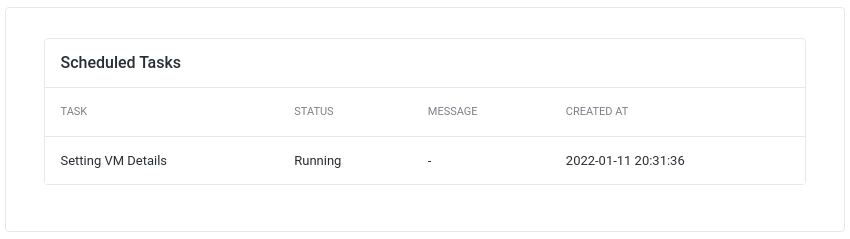
Click on your new VPS, to see its status. Creating a new VPS may take up to a few minutes, and the whole process passes through the different stages:
- Creating Account

- Building VM / VPS
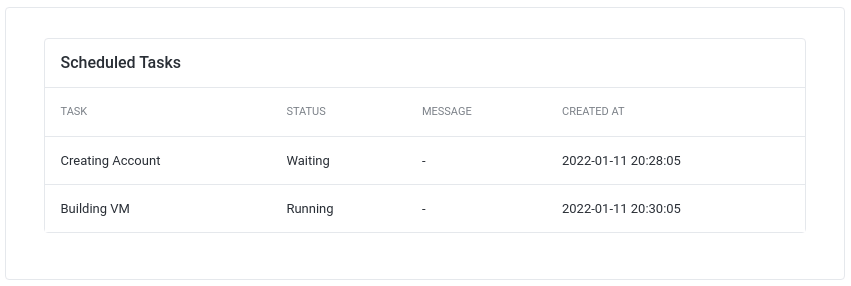
- Setting VM / VPS Details
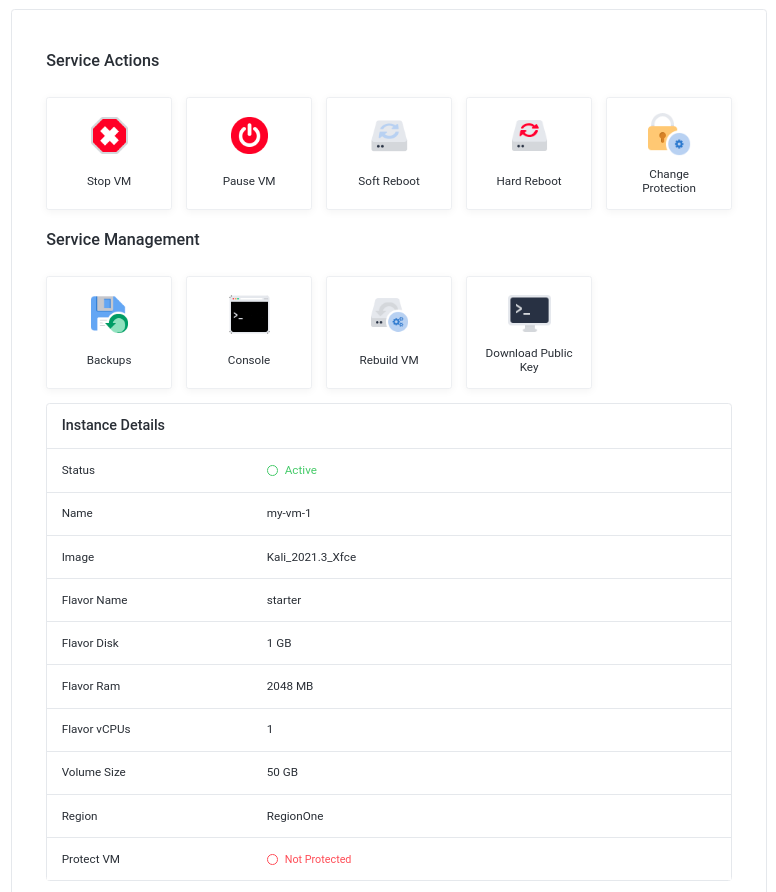
Once the VPS creation process is complete, you should see details, and all available actions regarding your new VPS:
12. Check your mailbox, you should receive an email regarding your new VPS information and login details.
